Showing posts with label knitting. Show all posts

Sunday, 22 June 2014

Red-Riding-Hood Coat

My cousin told me a while back that she would love me to knit something for her little girl. I had this red yarn in my basket that I'd been staring at for a while, and saw an inspiration Red-Riding-Hood style baby jumper on Pinterest, so I set to work on this. I worked without a pattern, more of a general idea of where I was heading, but I think it turned out pretty well. I requested a few measurements and worked from that. I've been thinking about putting together a pattern of it, so let me know if you're interested and it will likely motivate me to actually get it done.

My gorgeous little second cousin is only four so it's a small coat and I knitted the whole body piece in one (so there are no seams down the sides) and only knitted the sleeves separately. They live in the South Island (of New Zealand) so I had to take these photos quickly before handing the coat off to my uncle to transport down. Anyway, here is the finished product.


I used simple crochet to attach the toggles and make some loops. I'm not a strong crocheter so just did my best and kept it simple.


It's a bit tricky to see (the close-up photo didn't turn out well) but I also put some elastic thread through the waist. It really gave the coat more shape.


And here is the photo my cousin sent me of the stunning wee model. Great fit me thinks.


Wednesday, 18 December 2013

Bath mat with sheet yarn

I used my sheet yarn (see here for the tutorial) and used three colours of sheets create a striped bathmat. 

I used a simple knit stitch so that one side is plain stripes:


And the other side has cross over small stripes.


I intend to make a round the toilet mat, and a door mat using sheet yarn.


No sew sheet yarn

Sheets that are ripped or have a localised stain become unusable on beds but are ideal for making sturdy yarn.

Firstly, the hems need to be unpicked or ripped off so that all the edges look like this:


Next, cut slits into one edge, about an inch apart (or whatever size suits your project).


Pull on a tab will create a rip that can be continued for the entire length. By ripping rather than cutting it the strips will be an even width.


Each strip will look like this:


There will be some loose threads that must be separated from the strip so that it looks clean, like this:


And you'll end up with leftover thread like this:


To join the strips first make a hole in each end, about 2cm in length:


Thread one end through the other:


Fold the end that had been threaded through back onto itself:


And thread the strip through the hole on its end:


Pull it all the way through:


And pull it tight:


Repeat over and over, adding all the strips and then roll them into a ball:


Using inch thick strips I knitted it together with 6mm needles, this was a bit tricky but made a nice thick knit:


Happy knitting!  :)


Wednesday, 30 January 2013

Knitted Owl Cushion Cover

The knitting side of this project has been finished for a long time, and I have just recently found the inclination to finish it, which was to sew and stuff an inner, and sew the knitted cover around it. I have found that the addition of an inner lining made out of a non-stretchy material (rather than simply stuffing the knitted cover directly) is essential, or the pillow stretches and refuses to stay "cushion-shaped".

I used the following pattern for my cushion cover which is simply a drawing I did on plain grid paper, and then used the grid to create the pattern. Each square on the paper corresponds to 4 stitches, as can be seen fron the way the pattern is staggered. I then only had to choose my colours and pay close attention to the pattern as I went.


 So here is the completed project from the front. I chose colours that I hoped would suit the seating area I planned to put it. I also went over it afterwards with a darning needle and some black wool, giving it an outline.


I decided to do a striped back in the same colours. I rather like it.


And this is the side. I sewed it up by hand, and the stitches were really handy in making sure I was sewing in a neat, straight line, I only needed to follow the knitting.


Here is the cushion in its new home. I think it suits the curtains and vases, but I may have to do something about that other cushion, it's cramping my new cushion's style ;)


Monday, 3 September 2012

Baby beanie

Thought I'd share a picture of my latest model, my too-cute little step-nephew, Leo. He's modelling a green beanie I made for him. Baby beanies are even more fun than full size ones because they come together even faster and look even cuter. Nothing to it, just do a big beanie pattern but with less stitches. Go here to see my beanie pattern. I cast on about 90 stitches for the baby beanie and made it a bit shorter.


Wednesday, 29 August 2012

Knitted Slouchy Socks


Winter's coming to a close down here and I've only just finished my slouchy socks. Anywho, here they are. I used a lovely multicolour yarn in muted tones, and they're just basic socks with a pattern of knit three, purl three. It's also an uneven thickness wool so they ended up looking rough and rustic, which charms me :)


These are the boots I knitted them for, but I can also imagine a future running around in tights and these big socks at home because they make me feel cute and comfy :)


Wednesday, 20 June 2012

Knitted Cushion

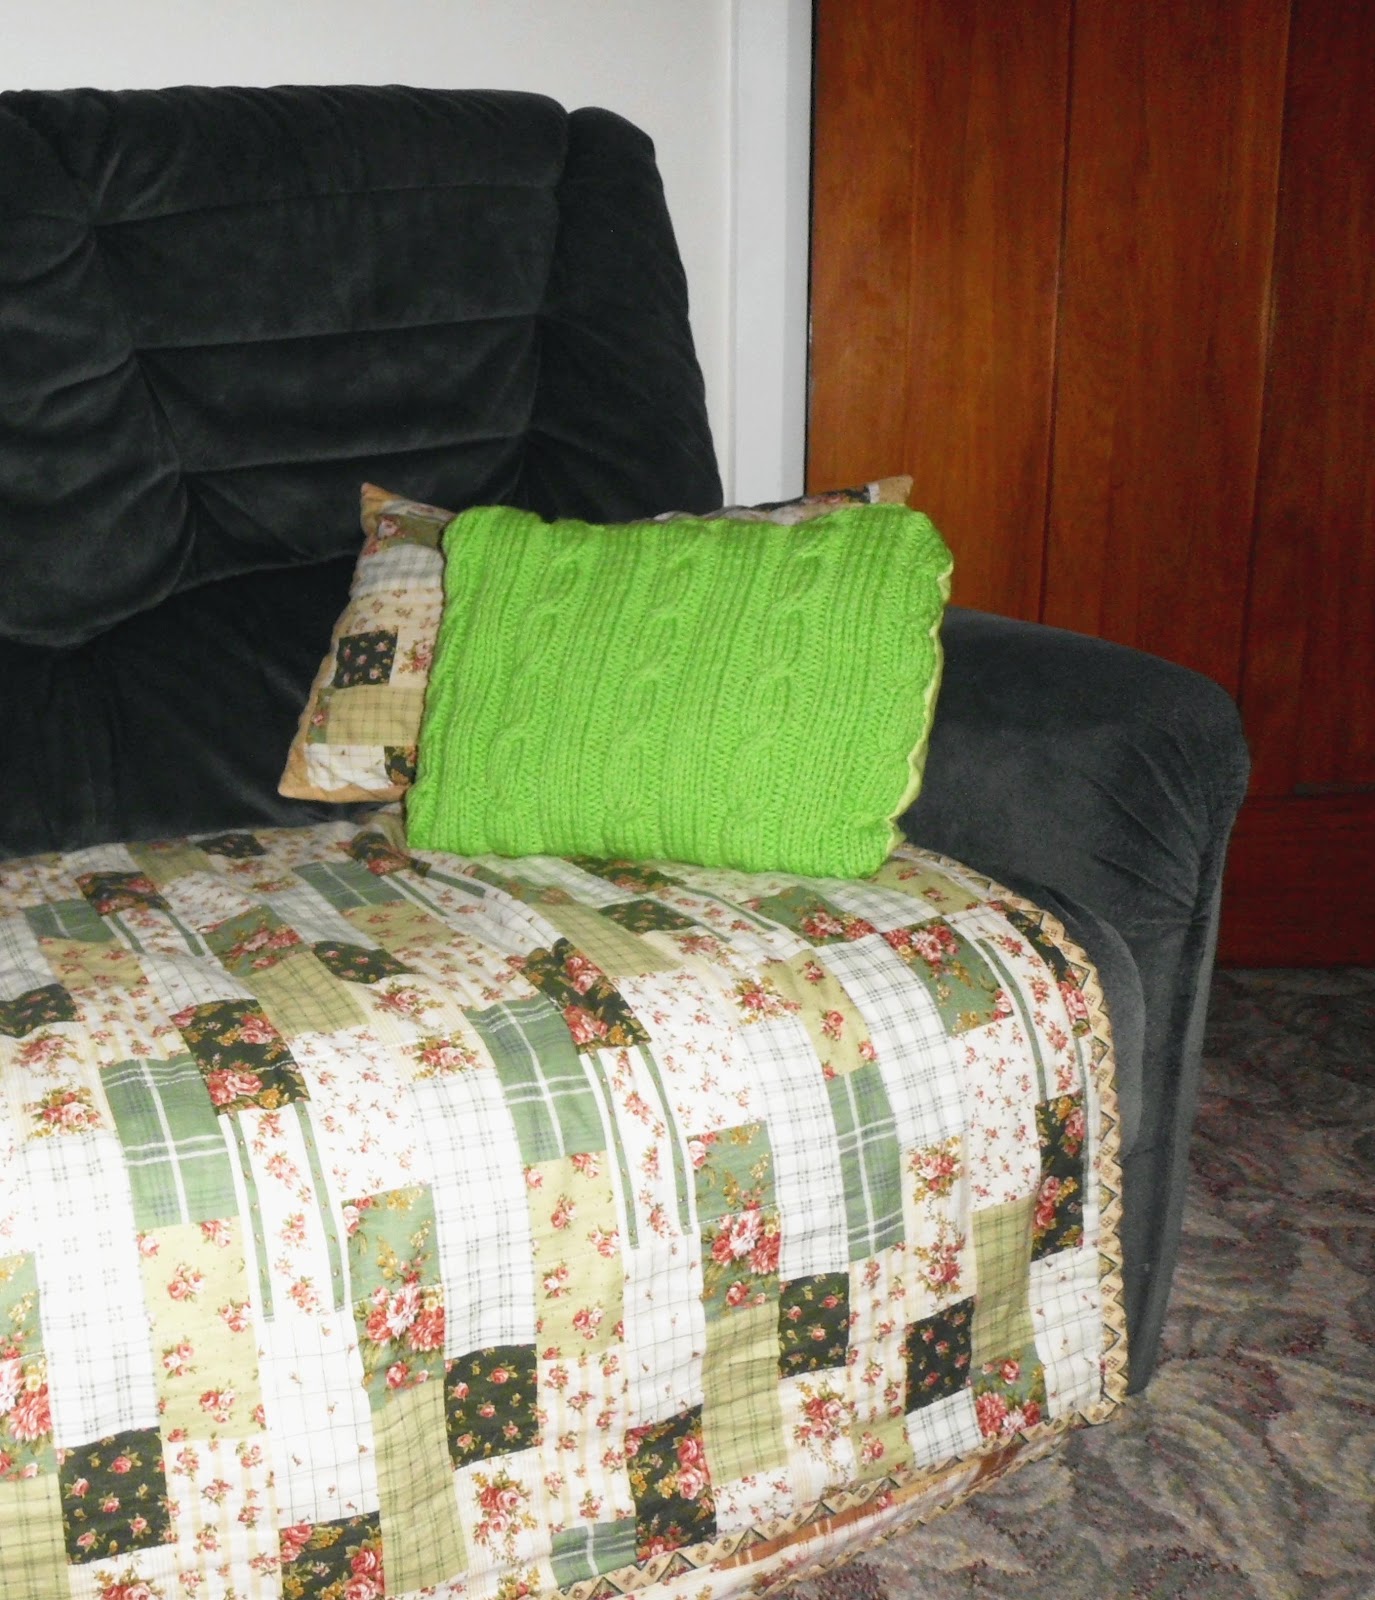
I'm desperately in need of some cushions for my couch and as we recently got new pillow inners for our bed I thought I could use the old ones for cushions. Knitting a cushion cover is super easy, it's as simple as casting on enough stitches to cover the width of the cushion (I'm halving the pillow inners), deciding on a simple pattern, (I did some cabling, but a plain knit would look equally lovely and homey) and knitting until it can fold over and fit the inner. Sew together two sides, so it's a pocket, slip in the inner, and sew it in. Easy peasy. It's pretty quick and satisfying.

I doubled the wool to give a chunkier knit, and I also ran out of yarn so I just made the front, and sewed it onto a cushion cover I made out of fabric. I also intend to make many more, and shall post when I do. :)  So here's the steps in photographic form:

1. Cut up the pillow inner into the size you want.


2. Sew up the fabric to cover the cushion, into a pocket, leaving a strip unsown (I used the fabric that was on the inner as a lining, and to show me how big to make it)


3. Turn inside out and stuff with pillow inner piece.


4. Hand sew up the opening carefully.


5. Pin the knitted front onto the cushion, stitch on carefully.


6. Have a super-duper enjoyable time with your new cushion. I had a photo-shoot to celebrate :)


Monday, 21 May 2012

Cabled beanie pattern

I seem to forever be making beanies for the same people. Mostly its because the negligent owner has misplaced it, but my brother's new puppy chewed a good sized hole into his, so I thought that was a good enough excuse to warrant a new one. This is it.


It's quite long and skinny, but that's what you want for a boys beanie (unless he's a hipster and wants a slouchy one). By making a beanie this shape, it should be nice and fitted and still reach his ears.

This pattern was just knit 6, purl 3, knit 3, purl 3, repeated 7 times.
Then every fourth row I'd need to do the cabling: pass three onto a cabling needle, knit 3, knit the 3 on the cabling needle, purl 3, knit 3, purl 3, repeated.

If you've got cabling, you should start (or end) with that, so it is along the edge of your knitting. This will make it tidier when it comes to sewing up the beanie at the end.

I used no. 4 knitting needles, and they're my go to size.

And that pattern was repeated seven times giving me 105 stitches. 105 is a good number of stitches for a fitted beanie with large cabling. If you have no cabling, more like 95-100 is good. And when I'm making slouchy losser beanies for girls I head for around 110-115.

When you've made a straight piece for about 25cm, you should start reducing down for the top of the beanie.

There are plenty of different ways to do this and I can't remember the exact numbers I used for this beanie, but I usually do it as follows:

Continue the knitting for 5 stitches, then slip one stitch, knit two together, and pass the slipped stich over (ss, k2tog, pssso) (this turns three stitches into one), then knit again for 9 stitches and repeat, ss, k2tog, psso, knit 9.... and so on, hopefully at the end you will be left with about 5 stitches (not a big deal if that's not the case)
Continue your pattern (adjusted to accomodate the missing stitches), for a row.
The next row knit 4 stitches then (ss, k2tog, psso, knit 7) repeat to the end.
Continue pattern for one row
The next row knit 3, (ss, k2tog, psso, knit 5) repeat to end.
Continue pattern for one row
Next, knit 2, (ss, k2tog, psso, knit 3) repeat to end
Continue pattern for one row
Finally knit 1, (ss, k2tog, psso, knit 1) repeat to end

This will create decreases above one another, so that it looks tidy.
Hopefully you will have left around 11 or less stitches (if more, p1, p2tog, and repeat for one row). Now just cut the yarn and thread it through the remaining loops and pull tight. I usually cut the yarn to leave a longish bit hanging off for sewing up the beanie, but cutting it off and sewing up the beanie with thread is equally sane.

Hope this inspires beanie making in you. I think they're so quick and wearable, they're very satisfying to knit.