Anywho, before Christmas I became obsessed with Christmas crafts and determined that all the ornaments on my tree would be hand made by me.
I'd like to share a few.
1. Origami Snowflakes

These snowflakes are the type of origami a person can feel proud to have made. I found the pattern here. It helps if you've had a little experience with origami, but you should be fine. I used plain printing paper for the white snowflake and silver wrapping paper for the silver one. I've also seen it done with a slightly transparent paper which looked great.
2. Paper Rose Ball Ornaments

I don't recall the exact site I found the instructions for the paper roses, but they're all over the internet. Here is one. I made mine from magazine pages so the ornament was pretty as well as environmentally friendly. It took me a little while to get the hang of the rolling, I guess everyone has their own technique. I then just glued them into a ball, including a piece of thread doubled over between two of the roses so the ornament could be hung. Each ball takes a fair few roses to complete, but once I got into the "craft zone" (my special crafting mind-space) it seemed to run smoothly.
3. Paper Flower Ball Ornaments


These paper flower balls are really sturdy and I think they're really impressive, but they're also very time consuming. Each petal must be made separately, then glued together, then the flowers glued together (again with a thread glued in for hanging purposes). Here is a link to instructions, they put some extra beads on theirs, but I prefer to leave them entirely paper : click here.
4. Rolled Paper Christmas Tree

I hadn't intended to make this ornament (I only made one), but I had all these left over strips of paper from cutting out the squares for the Paper Flower Ball petals, so I did make it. This one requires extra patience and dexterity, but it's simple. Simply roll your strip around some thread and then around itself, lowering it as you go so it is always approximately 1mm below where it had passed the last round. Glue as you go. When the strip runs out, replace it with a new strip. I used a different coloured strip each time, but I can imagine it could look lovely as one colour as well. Stop when it's big enough or you're fed up :)
5. Mini Boxes
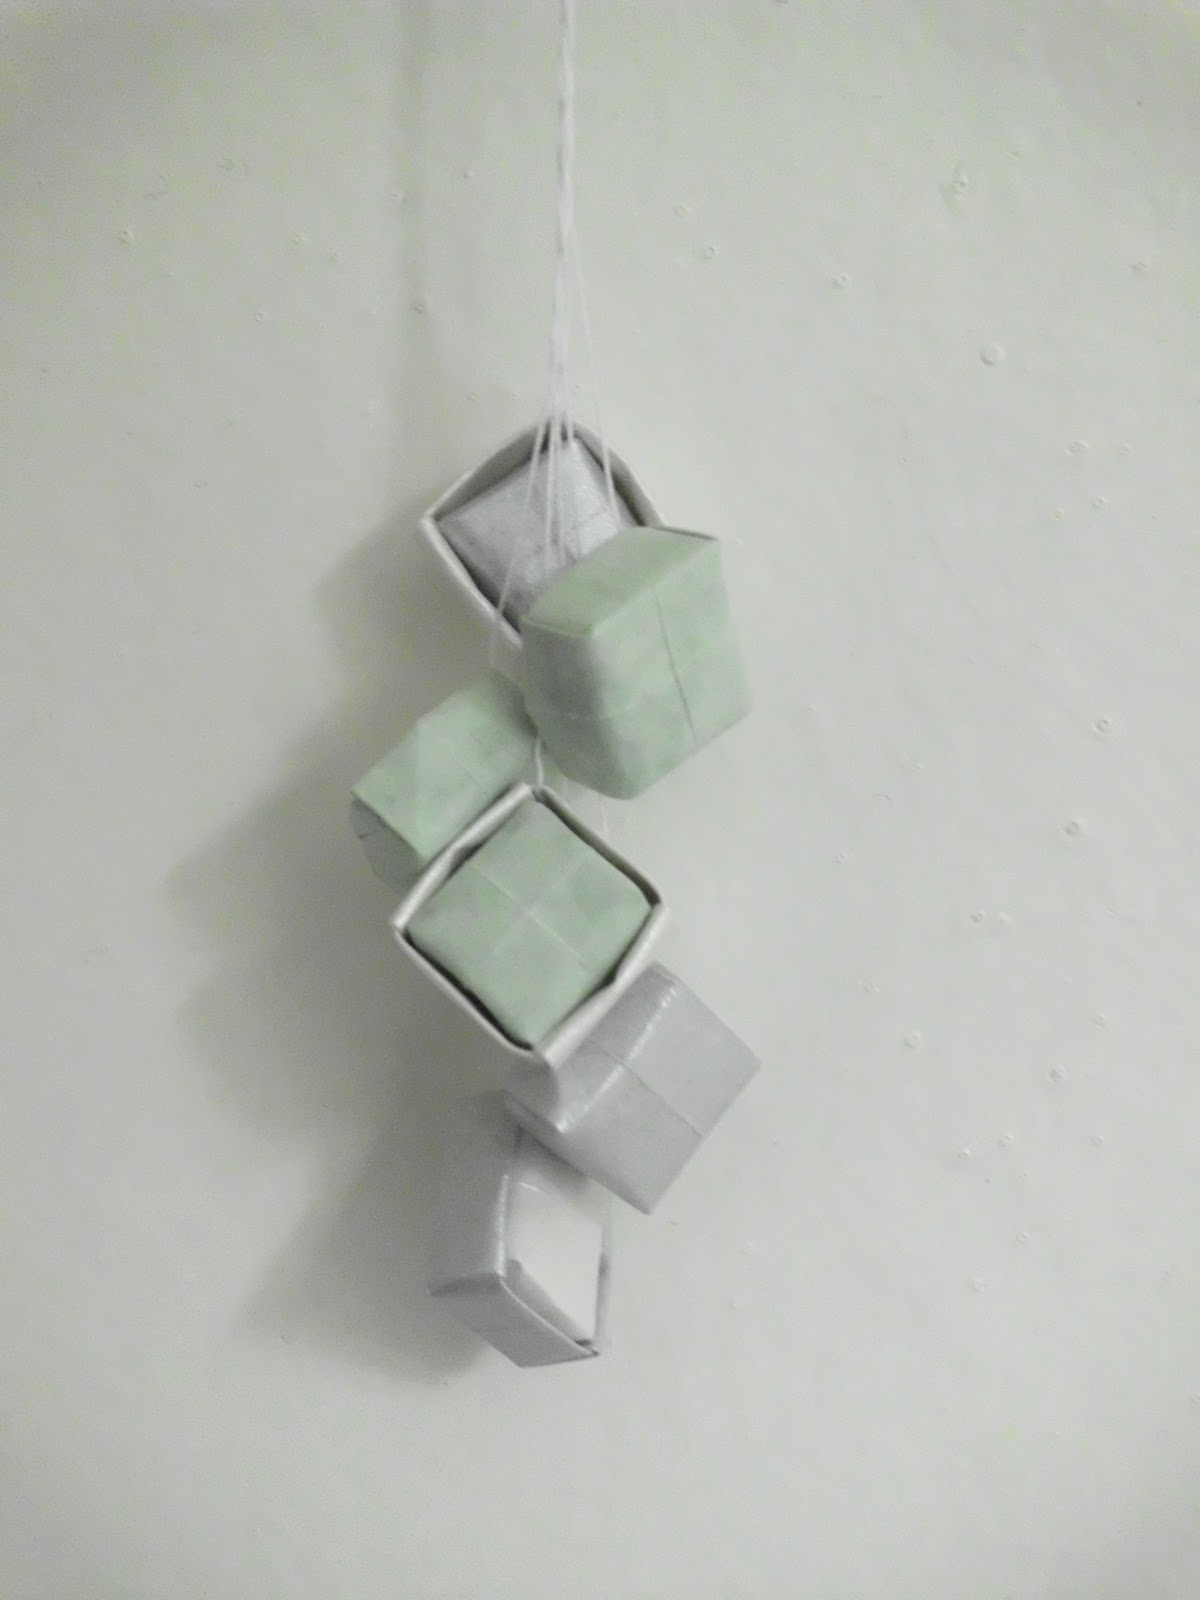
I made these boxes very small (about 10mm wide and 5mm high) but I'm sure if you have a larger Christmas tree it could handle having larger boxes. The larger the boxes, the less fiddly they will be to make. Here is the box tutorial. Make one slightly smaller than the other and glue the thread into the larger box, then slide in the smaller. Glue the smaller box in if the fit is not tight.
Hope that gets you inspired. Maybe you could start making some Christmas crafts now and by the end of the year you'll have a full arsenal. Actually, that sounds like a good plan...
No comments:
Post a Comment